
A little background: RVs most often have absorption refrigerators instead of standard house refrigerators due to the energy requirement differences between the two and the ability of absorption fridges to operate on propane. If you're always hooked up to electric then a regular fridge would suit you fine; for those of us who like to boondock, the absorption fridge is da bomb.
You're probably wondering how an absorption fridge works. eHow to the rescue!
"The internal workings of an absorption fridge are composed primarily of a series of pressurized pipes running throughout the fridge's casing, interspersed by five primary components. These components are the generator, separator, condenser, evaporator, and absorber. They are all connected in line with one another, each performing a separate process which is vital to maintaining a low temperature within the fridge.
A propane or gas burner is connected below the generator. The burner heats the generator. Contained within the generator is a combination of water and ammonia, which begins to boil. The boiling solution passes down a pipe to the separator, which by dint of the difference in water and ammonia's molecular weight, separates the two materials. Ammonia rises upward in the form of a gas while the water doesn't. As a result, the water heads to the absorber to wait for later use while the ammonia travels to the condenser. The condenser is an expansive device which allows the ammonia's heat to dissipate and the ammonia condenses back into a liquid. The ammonia is shunted to the evaporator, where it mixes with compressed hydrogen gas and evaporates once more into a freezing vapor. The vapor is pumped through the cooling coils within the fridge as a result of pressure initially created by the generator, which is still the driving force for this entire process. Once the vapor passes through the coils, it travels to the absorber, which recombines with the water. A chemical reaction occurs, in which the ammonia combines with the water as a liquid, while the hydrogen gas travels up a pipe into the evaporator to await the repeating of this cycle. Likewise, the ammonia and water flows back down into the generator."
In other words, it's magic!
In other words, it's magic!
The by-product of all of this magic is heat in the compartment behind the refrigerator. That compartment can be accessed in two places, from the vented cover on the sidewall of the RV right at the backside of the fridge (easy access to the fridge guts) and a covered vent on the roof of the RV. Heat rises up through the roof vent and this helps to keep the temp down in that compartment. This is where the solar fan comes in.
When your ambient temps are high, such as during, say, a Florida summer, the temps in the fridge compartment can get quite high and the fridge loses some of its efficiency. Putting a small fan into that compartment, directing air up past the coils and compressor and toward the roof vent will help to make the fridge more efficient.
You can buy a small computer-type fan and wire that directly into your 12v system but we didn't want to have another device drawing on the battery so we decided to get a solar powered fan. I thought about buying the components and building it myself but in the end went with a pre-assembled kit. I'm glad I did because the small solar panel is encased in what appears to be very durable plastic.
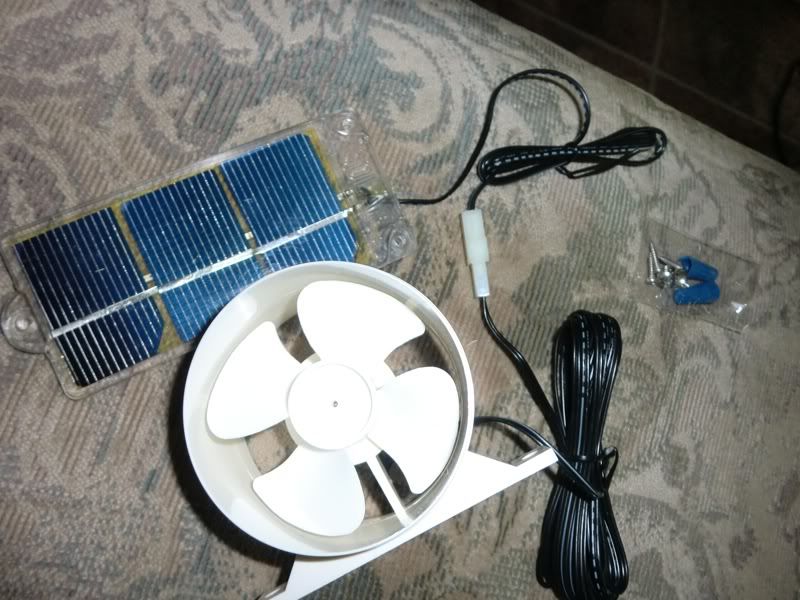 |
| Ordered from Amazon |
Here is the fan in action:
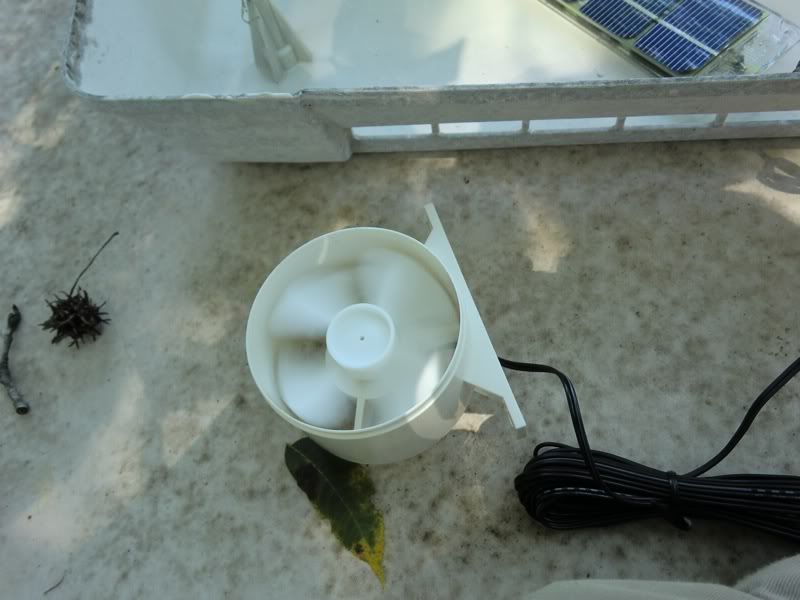 |
| Up on the roof. You'll notice the panel isn't in full sun yet the fan is turning. Excellent! |
Then it was just a matter of figuring out placement. Turns out, the space between the fins and the outer shell of the Duck isn't large enough to mount the fan on the outer wall, so I had to get creative. There were maybe two mounting places I could find; one was the metal cover over the burner (not ideal) and the other was just inside the vent cover and under the coils. This sounds pretty ideal but I had to fashion my own mount - complete with bungy cords for added stability - and I won't be convinced that it's good until we see how it holds up going down the road. But for air direction and placement, it's good.
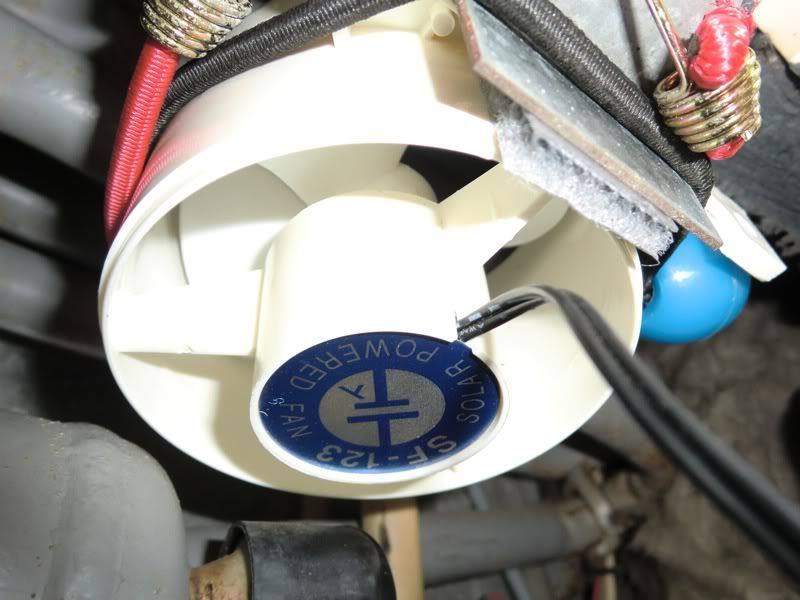
Next was pulling the wiring up through the roof vent. I fashioned a fishtape by connecting a couple of short cables and dropped that down through the vent.
Here's the cabling as it's ready to be pulled back up through.
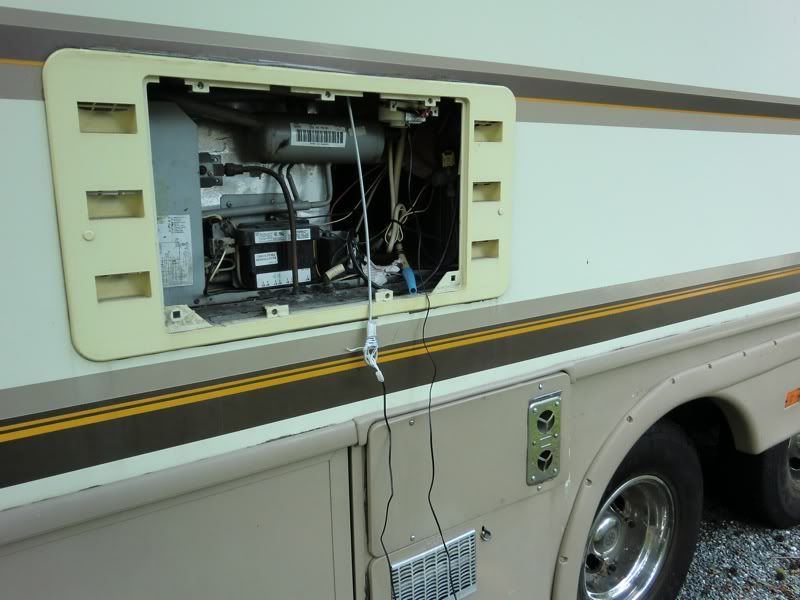 |
| It's the wire hanging out, connected to the 'fishtape' with twist-ties |
Once pulled up through the roof vent, all that was left was to connect the wiring to the solar panel then secure the panel to the top of the vent cover and reinstall the cover.
I didn't want to drill any holes into the vent cover to secure the panel, because the vent cover is aged plastic and I was afraid it would splinter. I ended up using some industrial indoor/outdoor "Extreme" velcro.
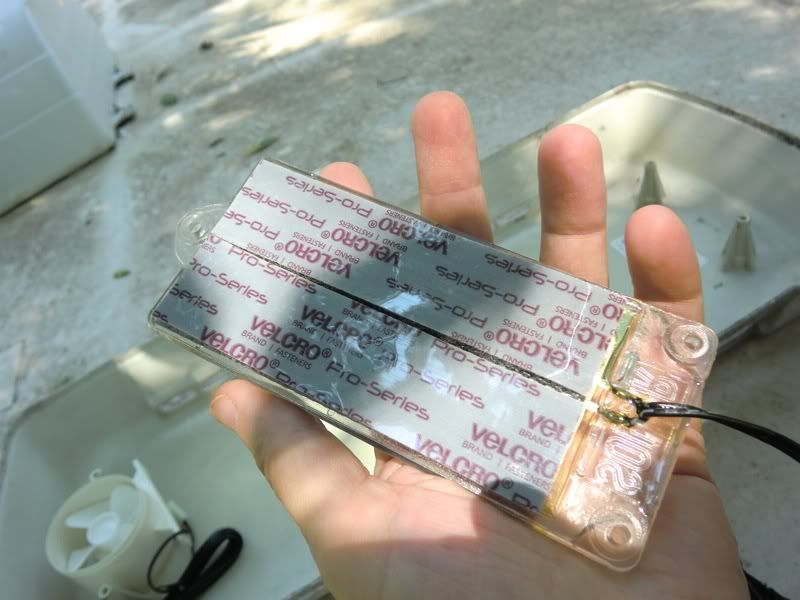 |
| I didn't even have to trim the velcro strips, they fit perfectly on the back of the panel. |
And here it is mounted on the vent cover.
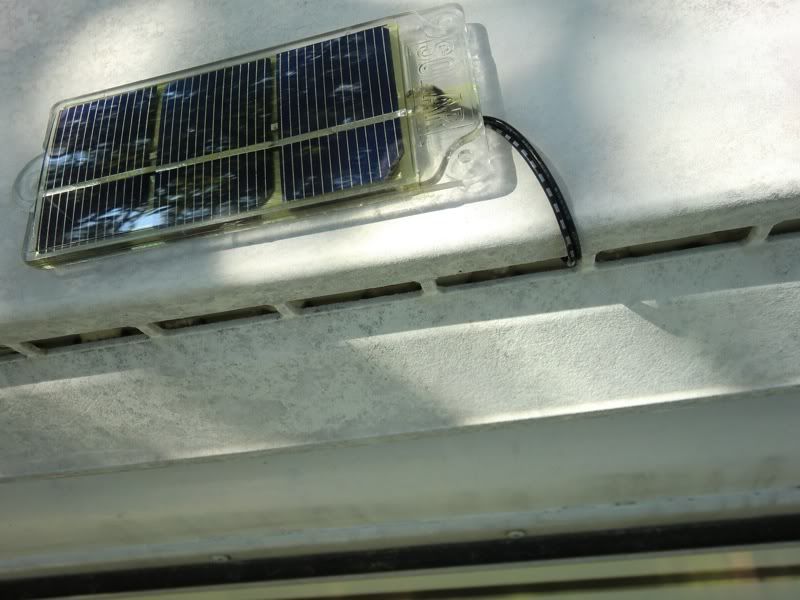 |
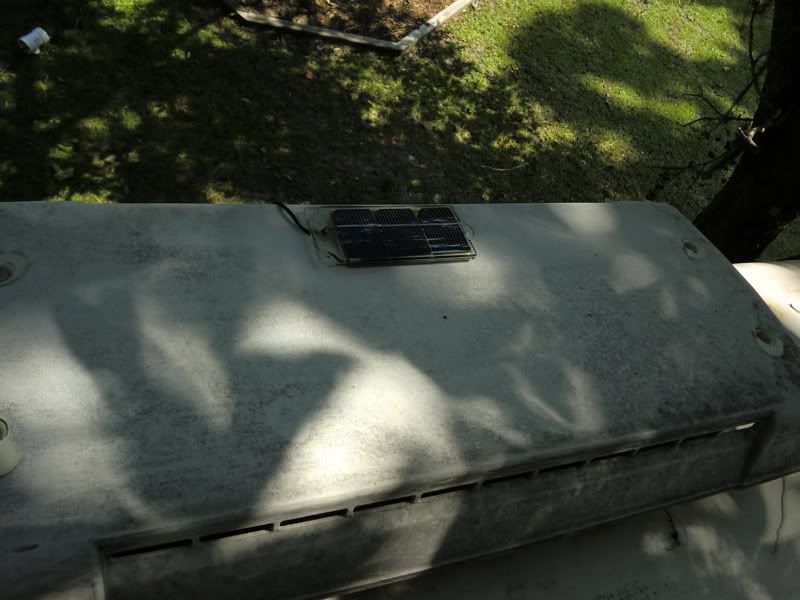 |
| Another view. It's wee, isn't it! |
And finally...
 |
| It works! |

